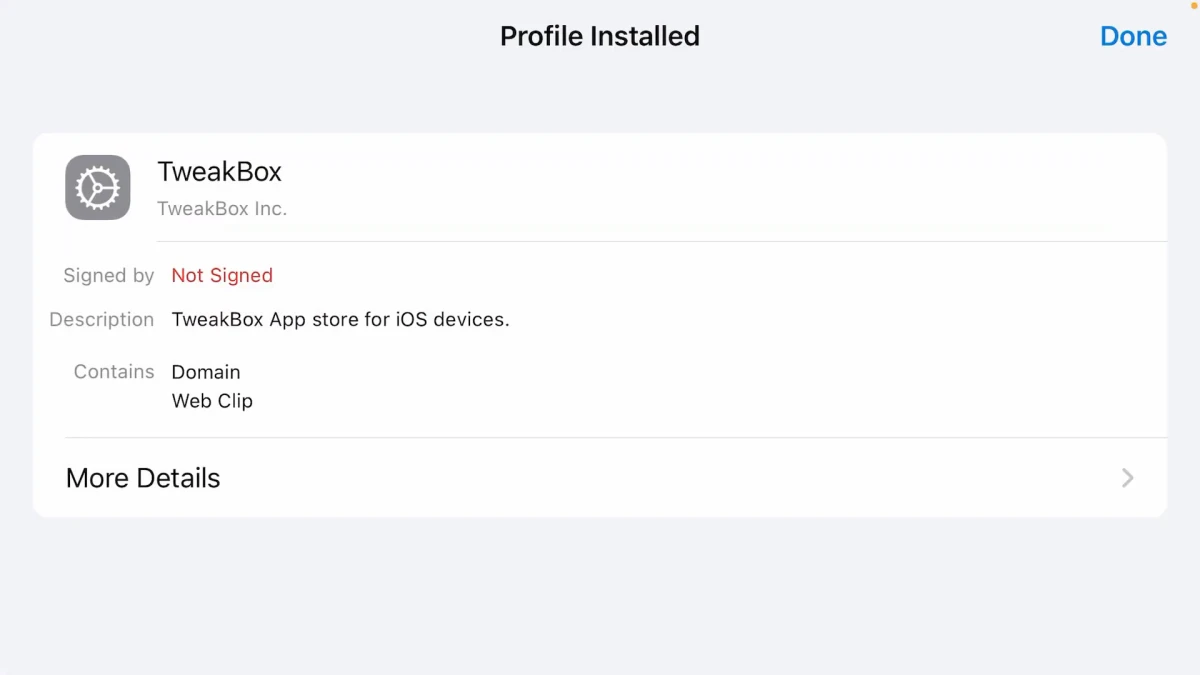
iOS Signing Certificates – Download & Installation Guide
Download an iOS signing certificate package and import it into ESign, KSign, or Feather. A package gives you the certificate and provisioning profile your signing tool needs to prepare an IPA for installation.
What Is an iOS Signing Certificate?
A signing certificate helps iOS check who signed an app. ESign, KSign, and Feather use it when preparing an IPA for installation. A certificate package usually includes a .p12 file, a matching provisioning profile, and a password for the .p12 file.
What Is a Provisioning Profile?
A provisioning profile is a .mobileprovision file that tells iOS which app it covers and how that app can be installed. For example, some profiles allow installation only on specific devices. Use the profile that matches your signing certificate.
How to Download iOS Signing Certificates from AppleJR
- Choose a certificate package below and download its ZIP file in Safari.
- Find the ZIP in the Files app and tap it to extract the package.
- Keep the
.p12and matching.mobileprovisiontogether. Check the included text file for password instructions.
Each ZIP below contains a .p12 file and at least one .mobileprovision file. Certificate validity is not checked live.
- RAKUTEN SECURITIES,INC. (ZIP)
- HSBC Bank (ZIP)
- Central Power (ZIP)
- Jiangsu Simcere (ZIP)
- Vietnam Rubber (ZIP)
- Moving Increasingly (ZIP)
- Vietnam Airlines (ZIP)
- China Telecom (ZIP)
- Xibei (ZIP)
- Aramco Services Company (ZIP)
- Luoyang Postal (ZIP)
- Qingdao (ZIP)
- XL AXIATA, PT TBK (ZIP)
How to Use a Signing Certificate
Unzip your certificate package so you can find the .p12 file and the matching .mobileprovision file. Open your IPA signing tool, import both files and enter the certificate password.
ESign
Open Settings > Import Resource and bring in both files from Files. In ESign’s file list, tap each file and choose Import Certificate Management. Enter the password when ESign asks for it, then find the entry in Certificate Management.
KSign
Open Settings > Certificates and tap +. Under Import Certificate File, select your .p12. Under Import Provisioning File, select its matching .mobileprovision. Enter the password and save.
Feather
Open Settings > Certificates and tap Import or +. Add the .p12 under Import Certificate File and the .mobileprovision under Import Provisioning File. Enter the password and save the certificate pair.
When you’re ready to sign the IPA, select the certificate you just imported.
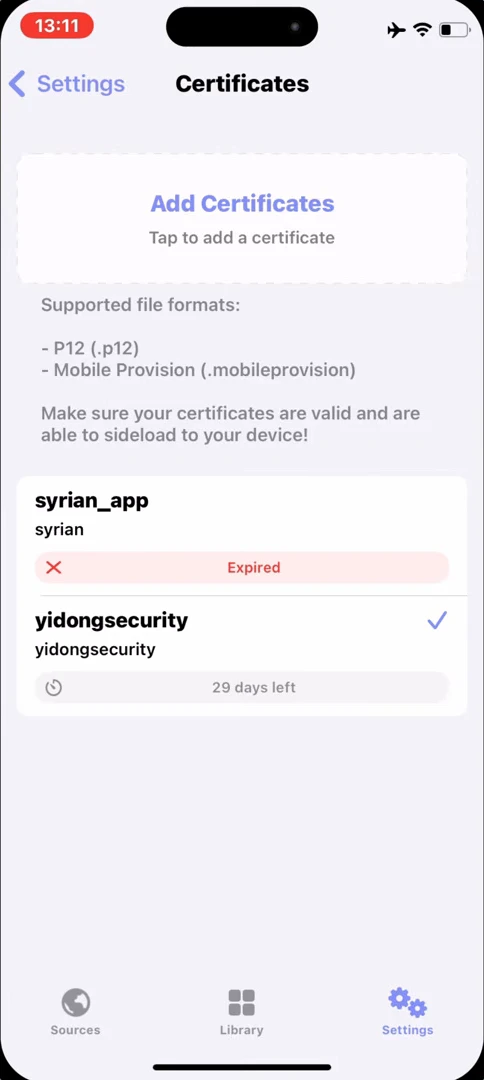
What Is a DNS Configuration Profile?
When you open a website, your device uses DNS to look up where to connect. A DNS profile changes how your iPhone or iPad makes that lookup. If you download the AppleJR DNS profile, review its settings before installing it.
Changing DNS won’t renew an expired certificate or fix an invalid app signature.
How to Install a Configuration Profile on iPhone
The screenshots show an example profile. When you follow these steps, look for the name of the profile you downloaded.
- Download the profile from AppleJR. Safari will tell you when it’s ready to review.
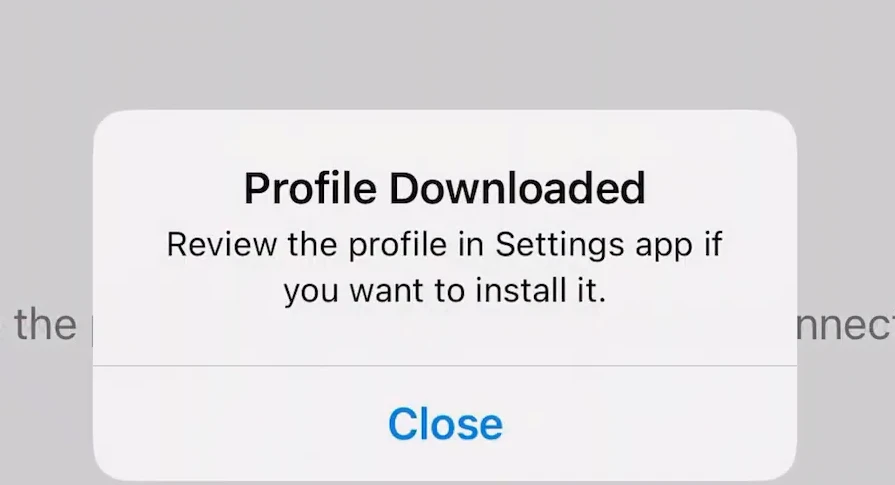
- Open the Settings app on your iPhone.
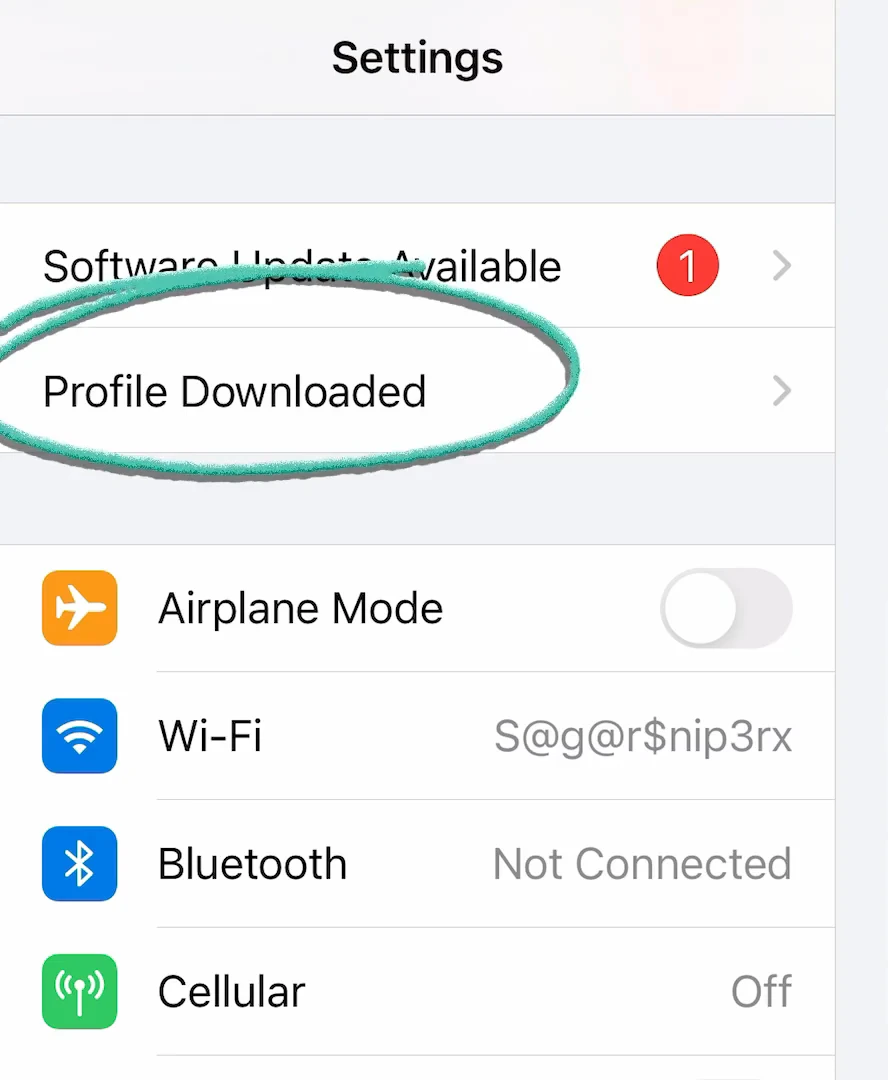
- Go to General > VPN & Device Management.
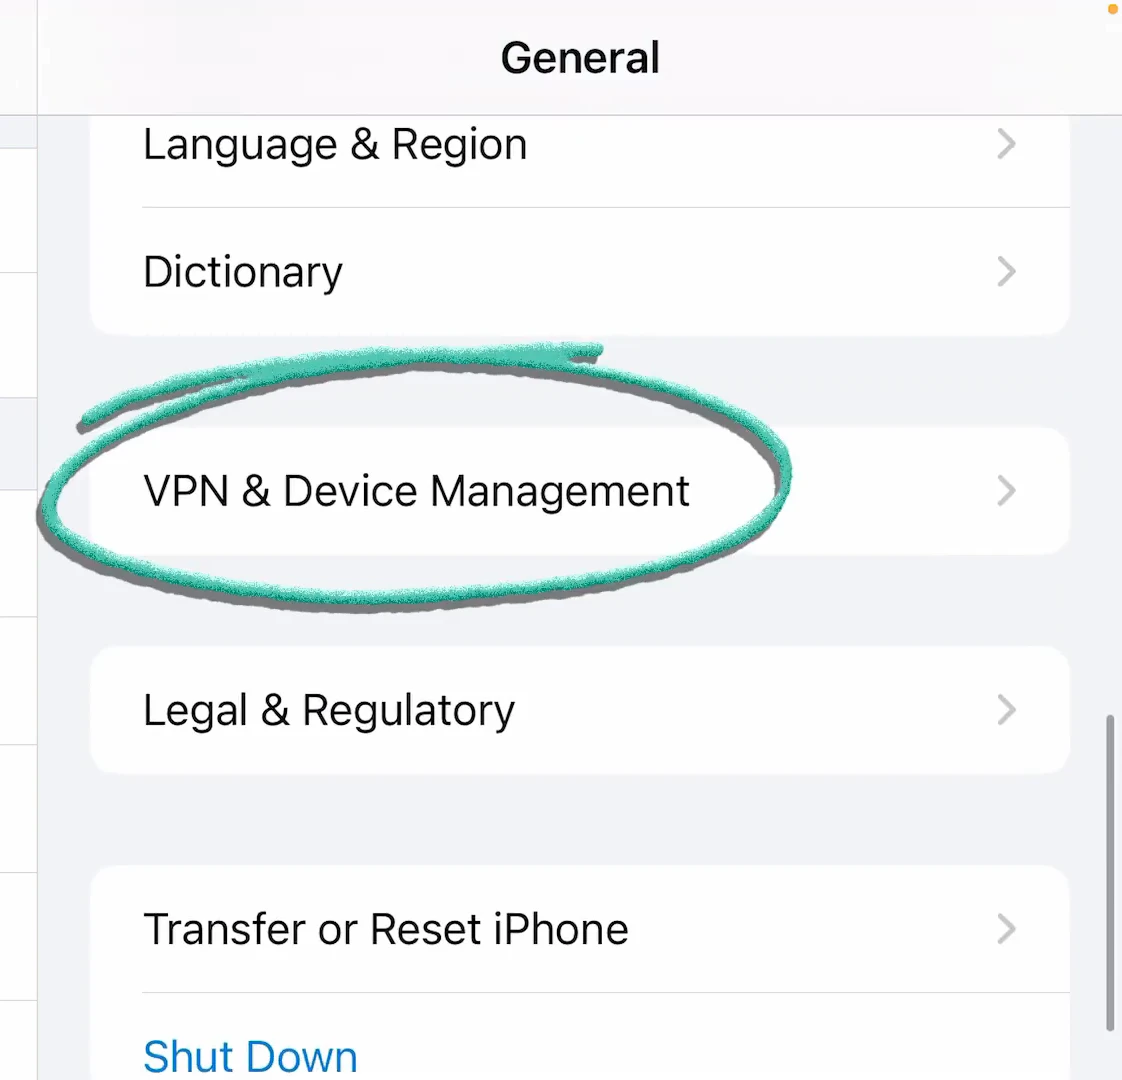
- Tap the profile you just downloaded.
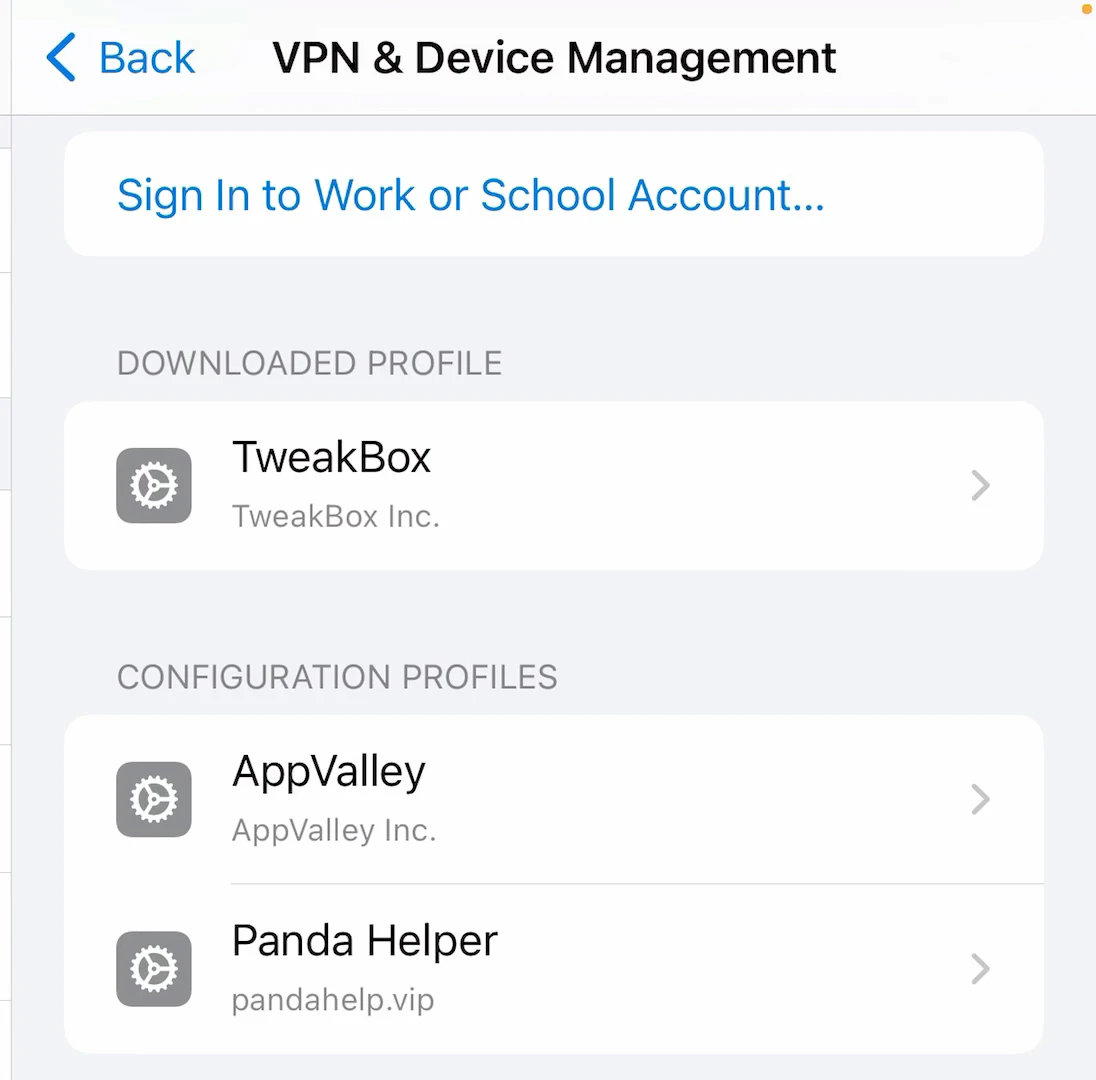
- Review what the profile will change. If you’re happy with those settings, tap Install and follow the prompts.